Just before the start of the school year this fall, I came across a deal for Bright Bins on Mamabargains for $8 each. Since the school that my children attend does not have hot lunch and I have to make a lunch everyday for my older daughter, I thought it would be nice to have a reusable container to use for their lunches. Here is one of her first lunches that I made in the Bright Bin:
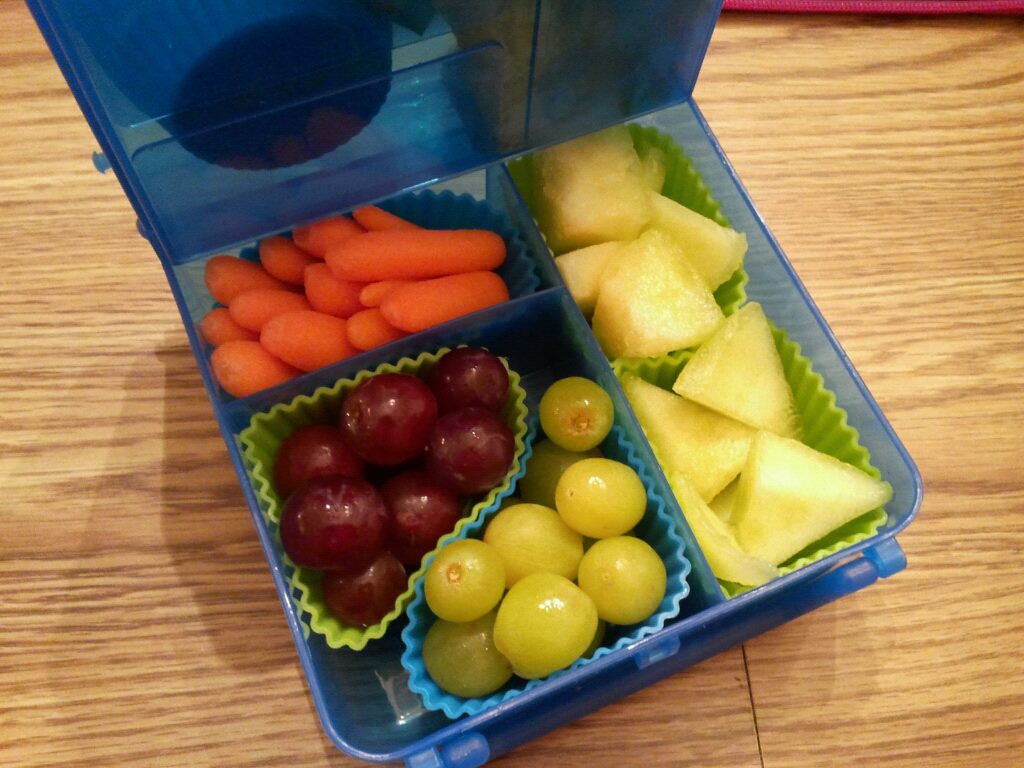
Bottom part of Bright Bin packed with baby carrots, grapes, and honeydew
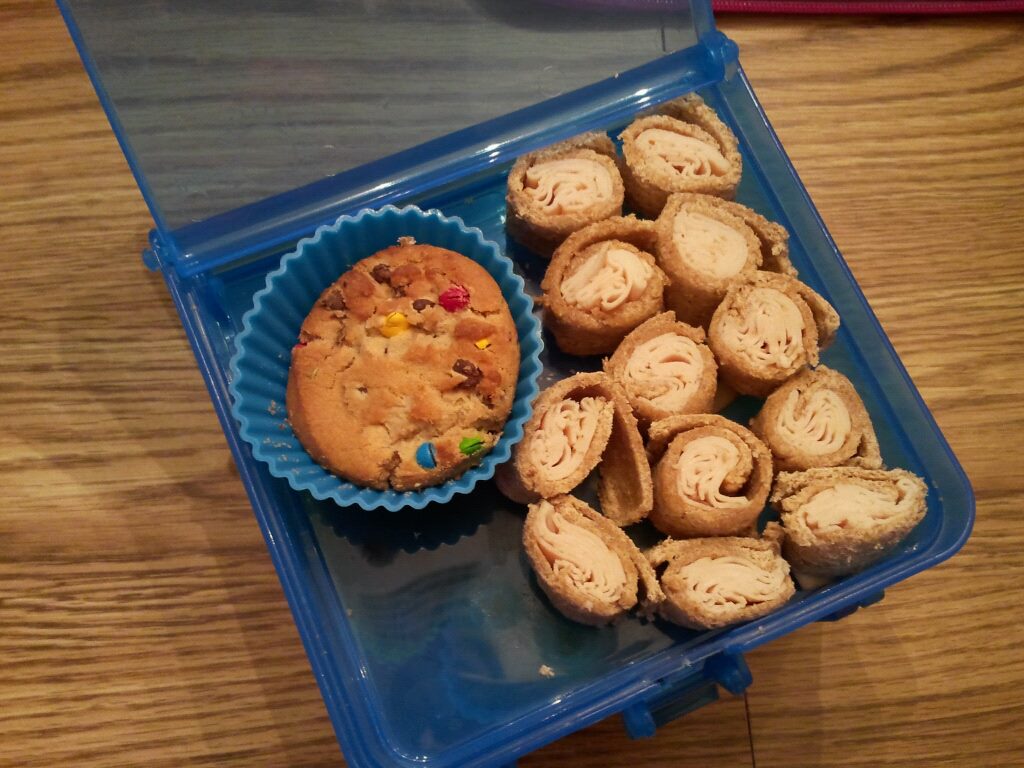
Top half of Bright Bin packed with a cookie and turkey and bread “sushi”

Bright Bin packed in insulated lunch box with Thermos FUNtainer of water
I occasionally used the silicone muffin cups shown to help divide things up more. The Bright Bin lasted about half the year, when the top latch broke. It’s still usable if you use a rubber band around the whole bin to keep it together. I started using the second one I purchased instead. However, the top part is pretty shallow, so if my daughter wants something besides a sandwich for her lunch, it’s not ideal.
So, a friend of mine had gotten some other lunch containers, and I was admiring them at the park one day when we had a playdate and picnic. She had sistema Lunch Cube To Go for her girls to pack lunches in. I looked them up online a few times, but didn’t ever get around to ordering. Then, I noticed that the Safeway in town had a few of the containers, and decided to try a Salad To Go container. It was exactly what I was looking for so that my daughter could take leftovers for her lunch (she doesn’t mind cold tortellini or lasagna!). The Salad To Go containers have a tray that fits inside, making a lower section and upper, divided section, along with a fork and knife, plus a small round container. They are BPA free, microwave safe, freezer safe, and top rack dishwasher safe.

Salad To Go container pieces
But, I don’t pack salads in it for her, I pack a full lunch like this:

Salad To Go container packed with cheese tortellini in the lower portion, tangerine and pita chips in the upper portion, and hummus in the small round container

Container put back together

Salad To Go in insulated lunch box with Thermos FUNtainer and ice pack. I kept the fork and knife out so they wouldn’t get messy inside with the tortellini
So far, it has gone really well with this one. Both my 6-year-old and 4-year-old can undo and redo the latches, and it has held up well going back and forth to school.
I was just at Safeway again, and they had a whole display of sistema To Go containers, Soup Mug To Go ($6.99), Salad To Go ($7.99), Breakfast To Go ($6.99), and Lunch Cube To Go ($5.99)!
 So, of course, I had to expand our collection:
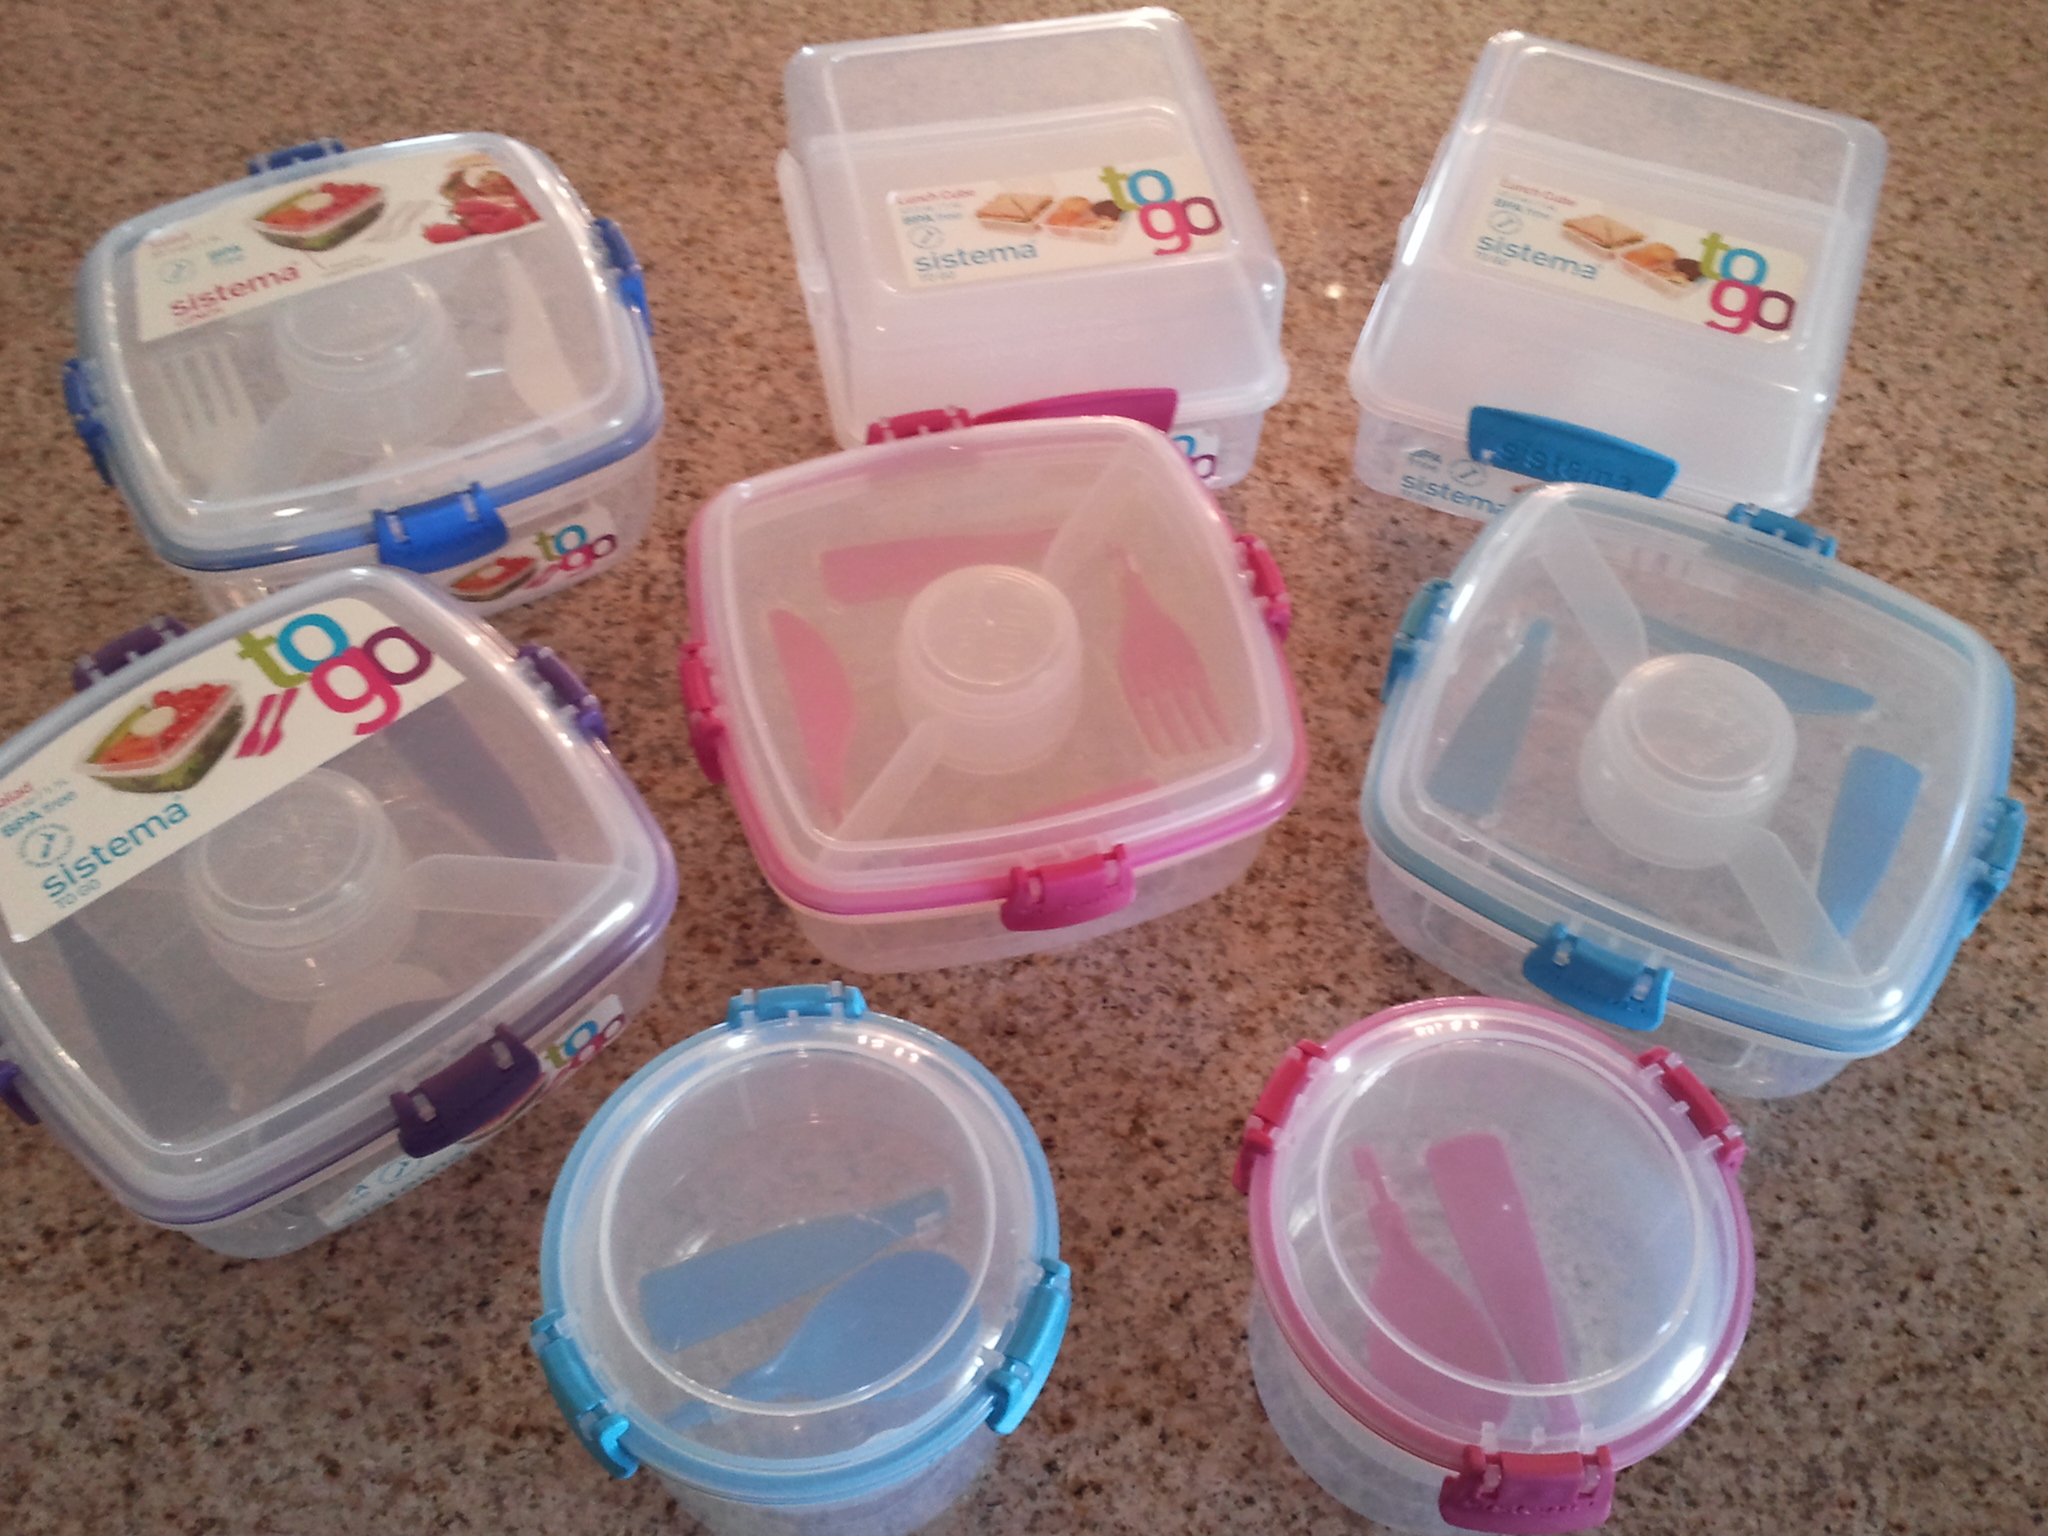
I now have a Salad To Go for each family member, Lunch Cube To Go and Breakfast To Go for each of my girls. My oldest loves pink, so her latches are all pink, my youngest loves blue, so her latches are blue. My favorite color is purple, so mine is the purple one, and I got a blue one for my husband.
I got the Lunch Cube To Go to have another option for lunches. It has a large section on top and a divided section on bottom, with a latched cover in between the two sections:
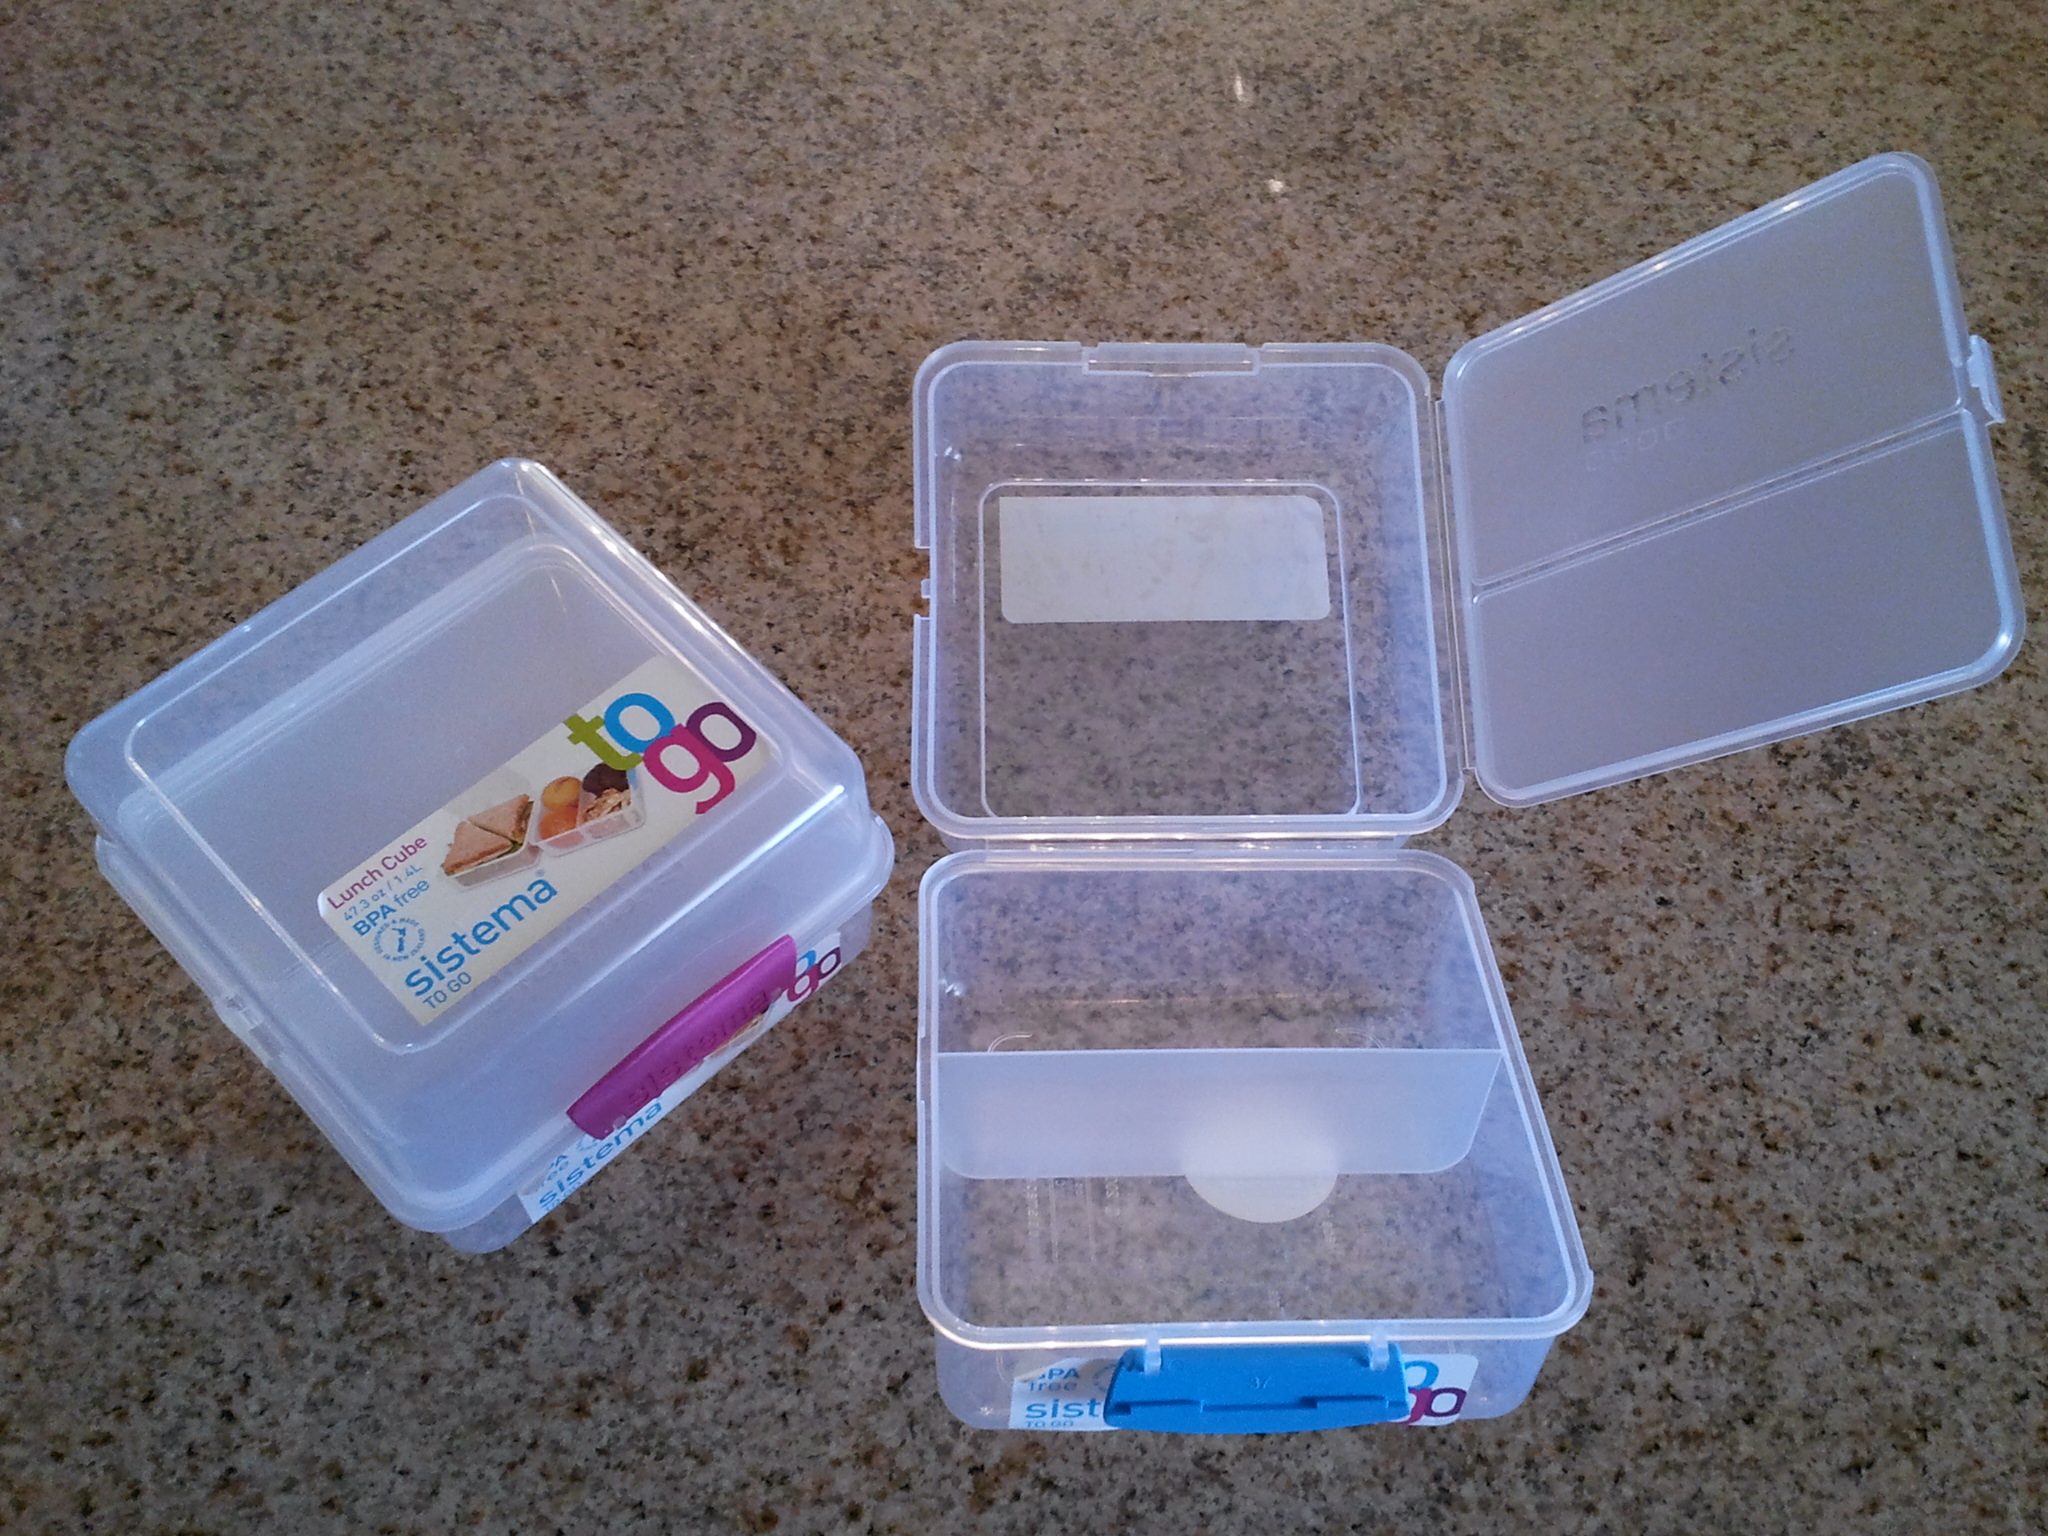
How the Lunch Cube To Go looks opened
The Breakfast To Go containers I got for the days that we are running late and have to have breakfast in the car or when we need to pack a breakfast to take along somewhere. It is similar to the Salad To Go; it has a larger container with a top part that fits in and has a spoon that clips into that top part. Here is a picture of all the pieces:
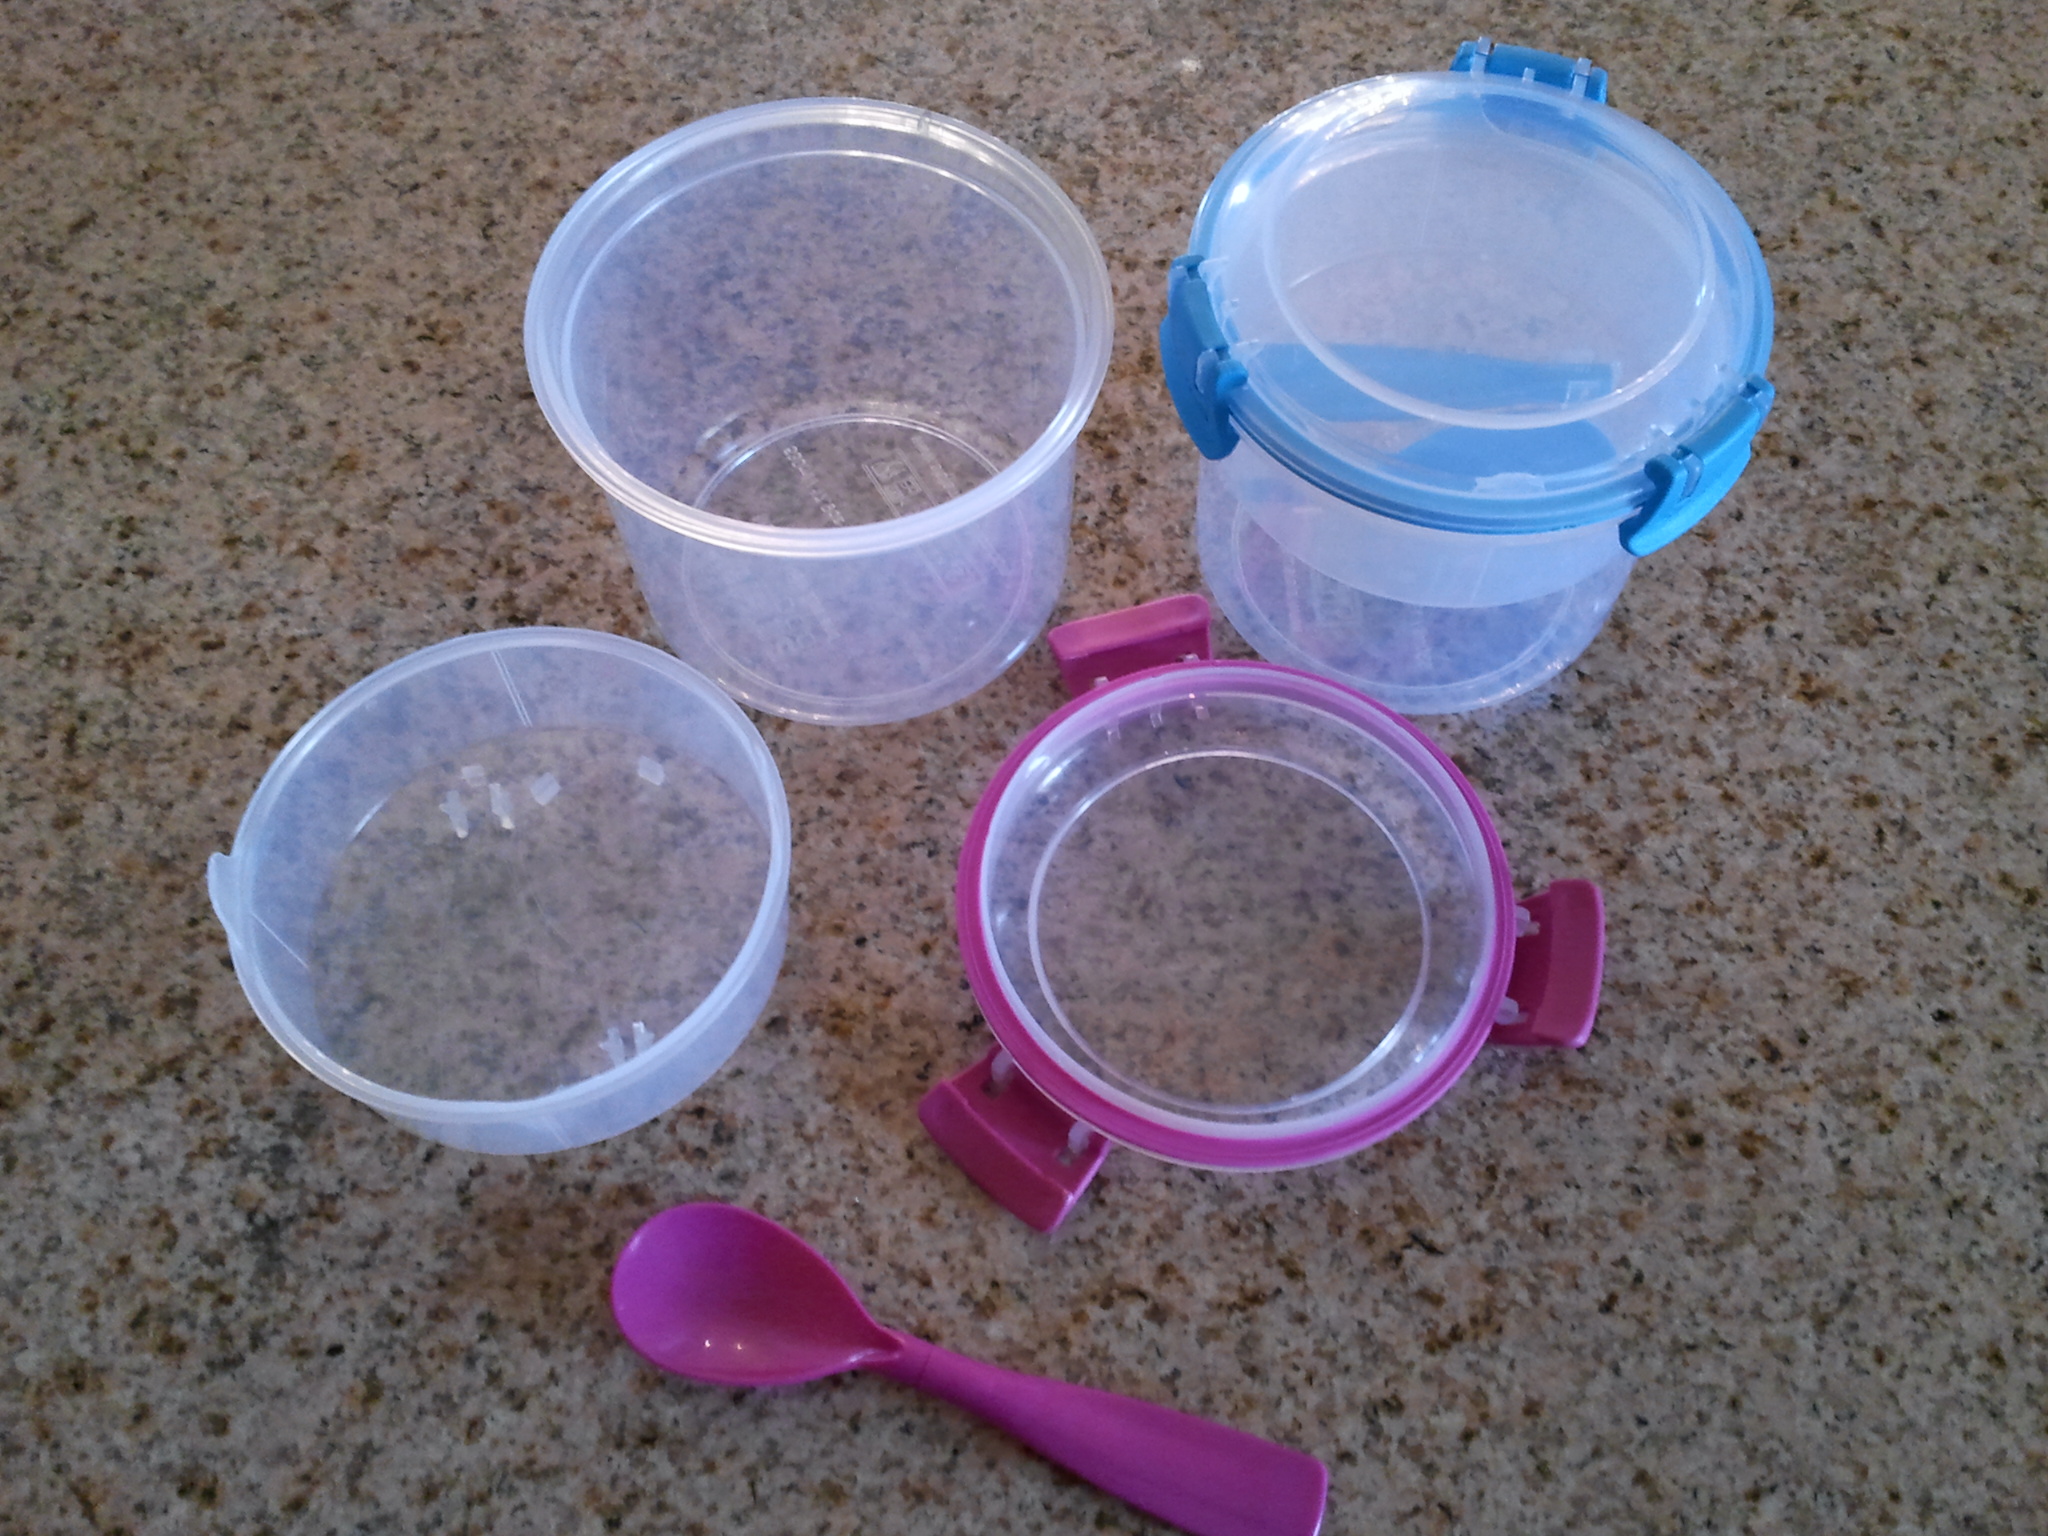
Breakfast To Go taken apart to show different sections and the spoon
The kids love the new containers, and hopefully we’ll get a lot of good use out of them.
Disclaimer: I did not receive any product from Bright Bins or sistema, I purchased all of these myself and wanted to provide information on how I use them and how they work for us.