Easy Baked Chicken Parmesan

26 Apr

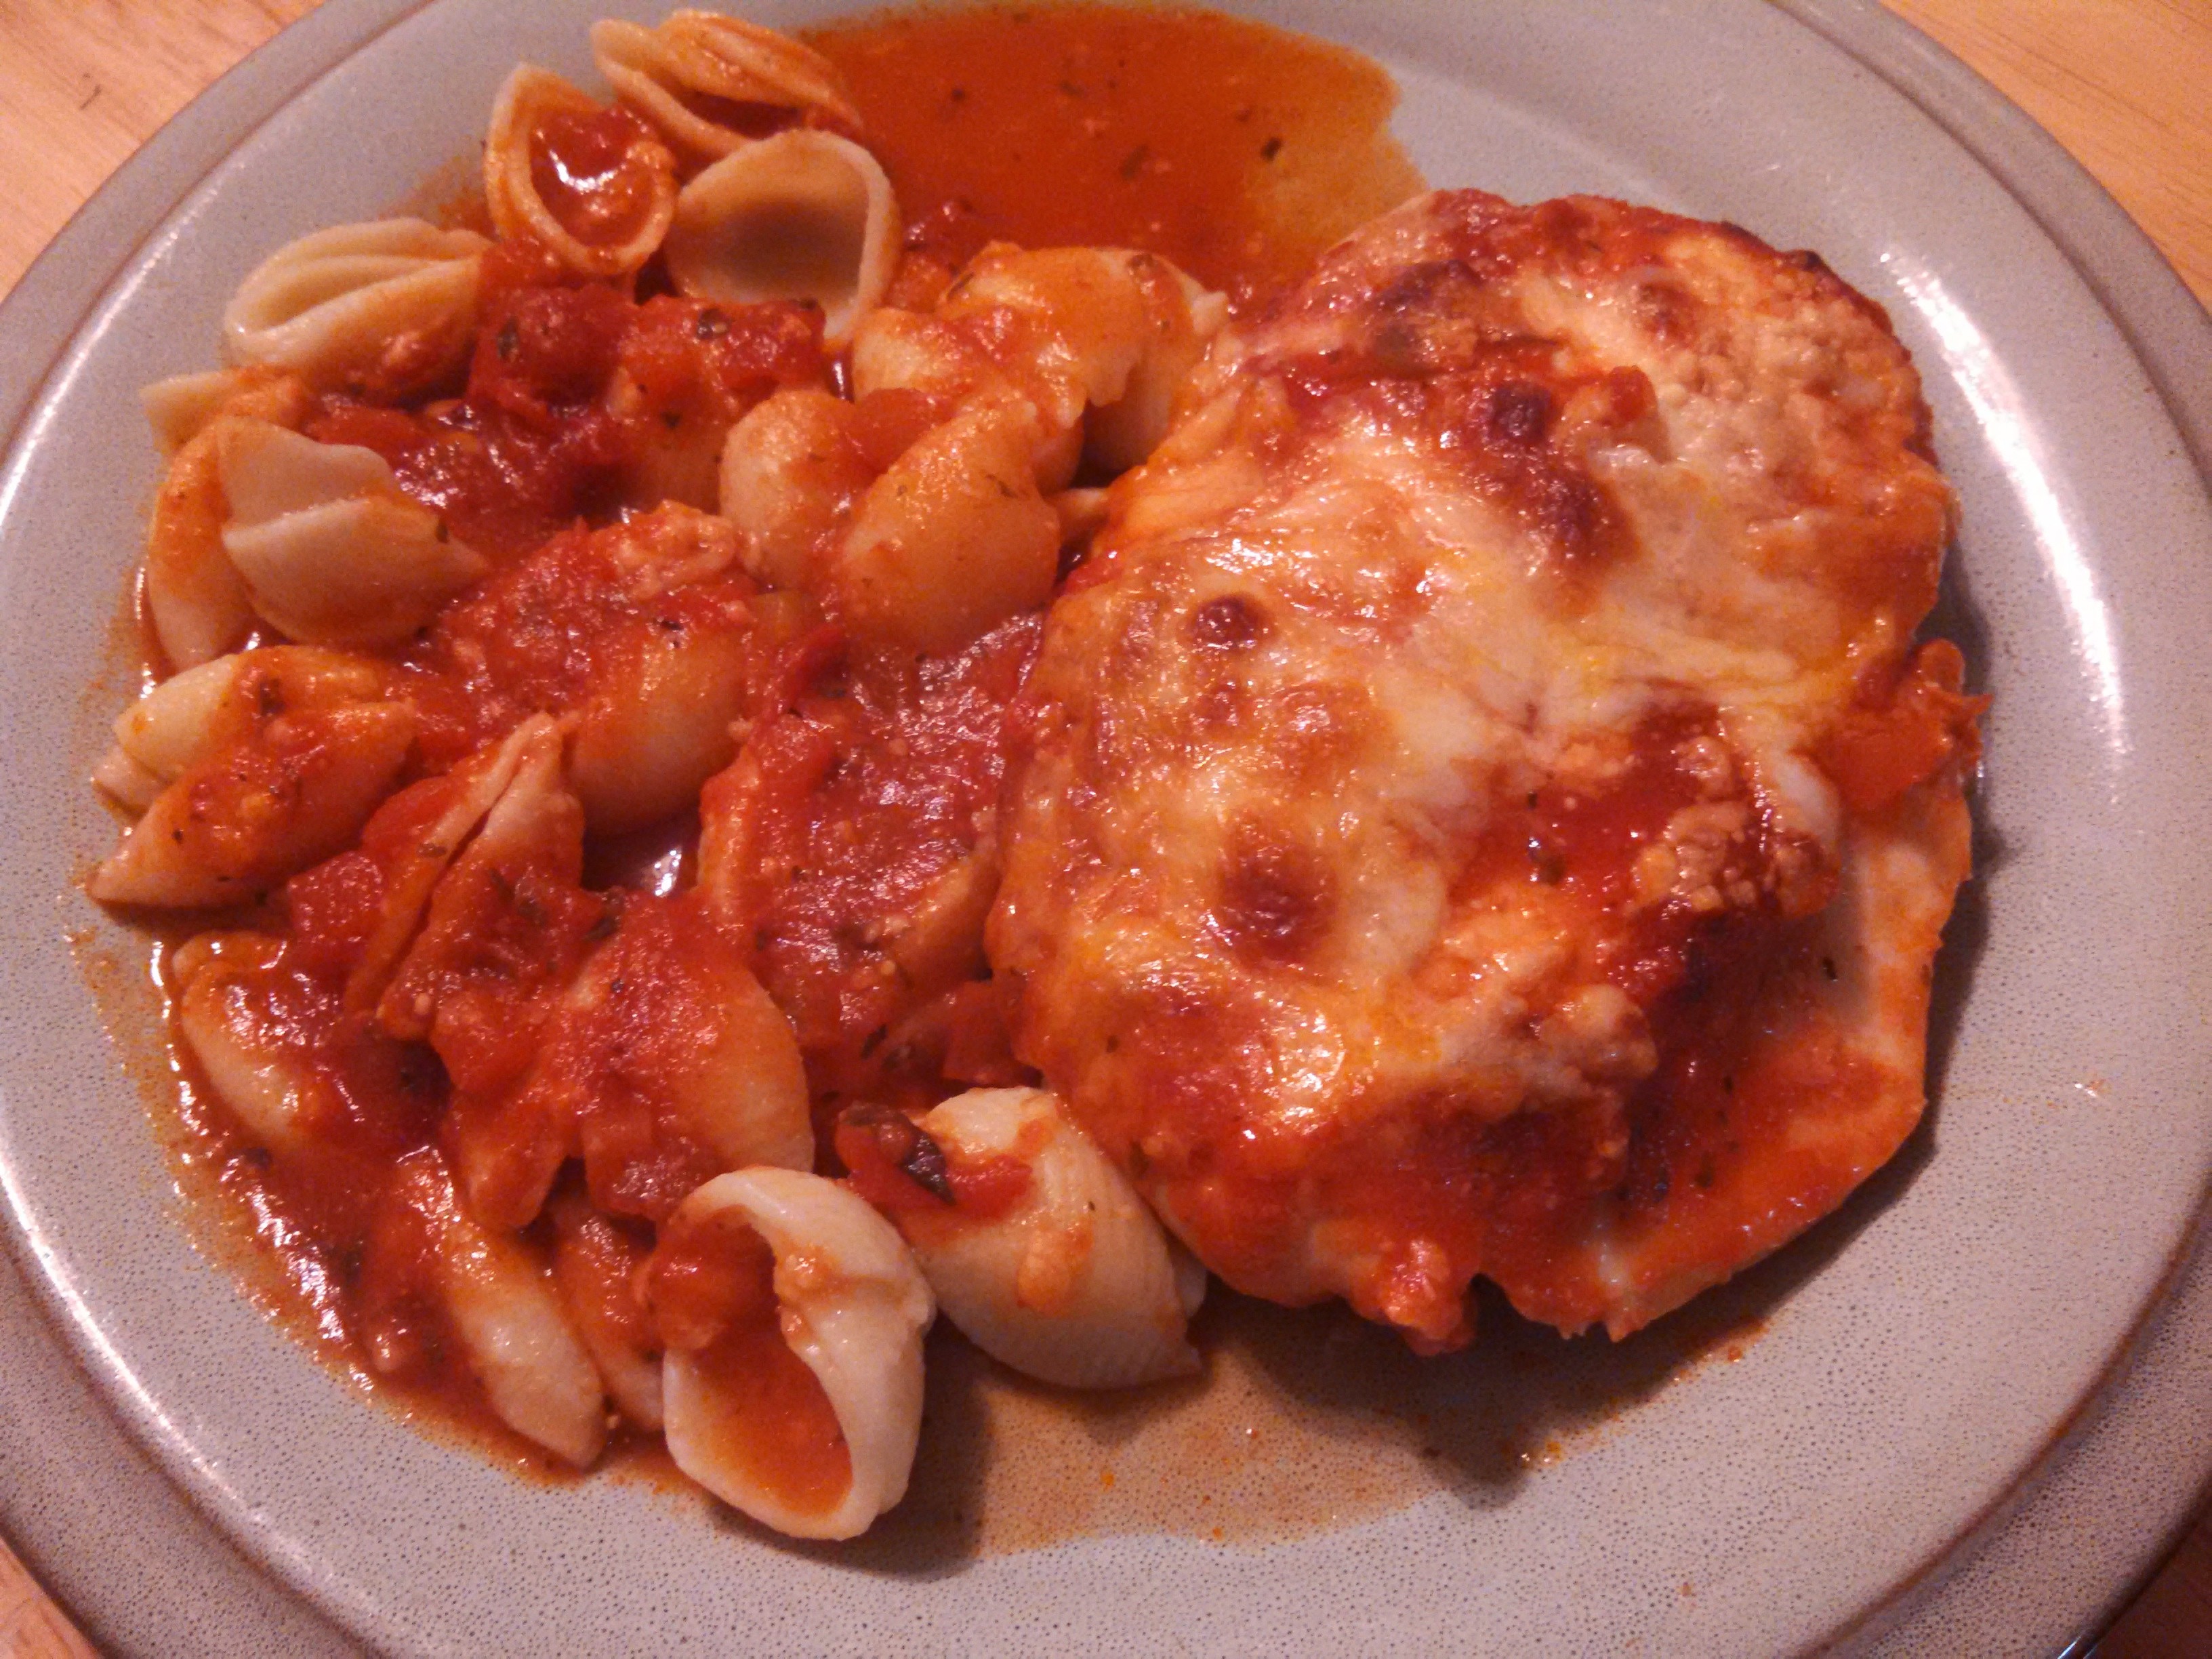
This is a recipe that my mom gave me after my older daughter was born. Knowing I would have my hands full, she gave me a bunch of recipes that would be quick and easy to make. I used to make this more, but just haven’t made it for a while. I’ve been getting back to using a few recipes, and was surprised I hadn’t shared this one yet. Tonight I served it with shells, but any type or pasta would work. Or, just enjoy it on its own with a veggie side of your choice.

Easy Baked Chicken Parmesan

Easy Baked Chicken Parmesan

What you need:

1 jar (28oz) spaghetti sauce
6 Tablespoons grated Parmesan cheese
4-6 small, thin boneless, skinless chicken breasts (either cut in half through the thickness or pound to be thinner)
1 cup shredded mozzarella cheese

How to make it:

Preheat oven to 375 F.

Pour sauce into 9 x 13 baking dish. Stir in 4 Tablespoons of the grated Parmesan cheese. .Add chicken; turn evenly to coat both sides with sauce. Cover with foil. Bake in the preheated oven for 30 minutes.

Uncover. Top with remaining 2 Tablespoons grated Parmesan cheese and shredded mozzarella. Continue baking uncovered for 10-15 minutes, or until chicken is cooked through (internal temp of 180 F) and cheese is melted.

Serve over hot cooked pasta or with a veggie of your choice.

Jollof Rice

25 Apr

I wish I had thought to take a picture of this, but maybe next time I make it. For our American Heritage Girls troop, we have been working on a World Heritage badge, and we talked about countries in western Africa. I found this recipe, and decided to make it to bring to share with my unit (Tenderhearts, ages 6-9). I turned back the heat somewhat, but this still turned out fairly spicy. Some loved it, some took one bite and were done. My family ate the leftovers, and they all really enjoyed it, so I’m sure I will be making it again soon. I’m sharing how I made it so I remember and also to share with the parents of the girls who requested that I give their moms the recipe!

Jollof Rice

What you need:

1/4 cup olive oil
1 cup diced chicken breast, cooked or uncooked (optional) (I omitted)
1 small onion, diced
1 stalk of celery, diced
1 carrot, diced
2-3 cloves minced garlic or 1 teaspoon
1 Tablespoon ground paprika
1-2 Tablespoons ground cayenne pepper (I used 1 Tbsp)
1/2 teaspoon ground ginger
1 6oz can tomato paste
1 15oz can diced tomatoes, run through food processor for a few pulses
1/4 teaspoon curry powder (optional) (I omitted)
1 teaspoon dried thyme
1 bay leaf
1 10-12 oz package frozen peas
2 cups long grain rice
3 cups chicken stock

How to make it:

Add oil to a large stock pot. Next, add the diced chicken breast, onion, celery, carrot, garlic, paprika, cayenne pepper, ginger, and salt. Stir continuously, and cook until chicken is no longer pink inside and vegetables have softened.

Add the tomato paste, diced tomatoes, curry powder (if using), thyme, and bay leaf. Cook another 3-5 minutes. Add frozen peas and rice. Pour in the chicken stock, bring to a boil. Cover and reduce heat to low. Cook for 30-35 minutes, or until liquid is absorbed and rice is soft.

Skillet Chili Mac and Cheese

25 Apr

Lori at My Kinda Rain posted this recipe a little over a week ago, and when I saw it, I knew we had to try it. I love a lot of the meals she shares, quick and easy for families on the go. Since I stopped buying boxed meals a few years ago, I love when I can find something similar that I can make.

I did make a few adjustments to Lori’s recipe. You can find her recipe here.

– 1 teaspoon cumin instead of 1 Tablespoon
– Added 1/2 teaspoon oregano
– Used 2 cups of beef broth instead of 2 cups water
– Didn’t have a 15 oz can of tomato sauce, so used 1 15 oz can of diced tomatoes and 1 6 oz can of tomato paste
– Only used 1 cup of shredded cheese instead of 2 cups

We all LOVED it, and will be having it again soon!

Skillet Chili Mac and Cheese

Slow Cooker Turkey and Wild Rice Soup

8 Apr

This past weekend, we had a turkey breast for our Easter lunch. We had some of the meat left, and I decided to make broth with the bones. Knowing that Chicken, Spinach, and Wild Rice Soup is always a hit in our house, I figured that a version with turkey would be good as well. Since this week is busy for us, I wanted to try this out in the slow cooker since I would time to work on it in the morning, but not in the evening at dinner time. It was so easy to throw it all together and just let it sit and cook all day. Although, I ended up picking a day I was actually home all day, so I had to smell it cooking!

This could be done with cooked chicken and chicken broth if you don’t have turkey. You could also use 4 uncooked boneless, skinless chicken breasts. They will cook as the rest of the soup cooks, and then you would shred the chicken when you add the milk and flour.

Turkey and Wild Rice SoupSlow Cooker Turkey and Wild Rice Soup

What you need:

1 small onion, diced
2 carrots, chopped into thin rounds
2 stalks celery, diced
1 cup sliced mushrooms
2 cups cooked turkey or chicken, chopped
2 cloves garlic, minced
1 1/2 teaspoons poultry seasoning blend OR 1 teaspoon dried thyme and 1/4 teaspoon dried sage
1/2 teaspoon salt
1/4 teaspoon ground black pepper
1 cup uncooked wild rice
8 cups turkey or chicken broth
1 cup milk
2 Tablespoons flour or cornstarch

How to make it:

Add all ingredients except milk and flour to a large slow cooker. Cover and cook on low heat for 6 hours or high heat for 3 hours.

Whisk together the milk and flour in a small bowl. Pour into slow cooker. Cover and cook for another 30 minutes until soup is thickened.

Crochet Beanie with Brim

3 Apr

These two hats were fun to make. They were a special request for a little guy battling cancer, and I was glad to make them! The first hat, I made to look like Lightning McQueen. Ka-chow! I really love how it turned out. The second was navy with white and red bands.

I started with my standard beanie pattern using Red Heart Super Saver yarn and an H hook:

Chain 3, 12 DC first chain, join to first DC, chain 2
Round 2: 2 DC in each around, join, chain 2 (24 DC)
Round 3: 2 DC in first, DC in next, repeat around, join, chain 2 (36 DC)
Round 4: 2 DC in first, DC in next 2, repeat around, join, chain 2 (48 DC)
Round 5: 2 DC in first, DC in next 3, repeat around, join, chain 2 (60 DC)
Round 6: 2 DC in first, DC in next 14, join, chain 2 (64 DC)
Round 7-15: DC in each around, join, chain 2 (64 DC)
Round 16: DC in each around, join, and finish off. Weave in ends.

Then, I added a brim similar to the Mario and Luigi hats I just did:

Count 21 from seam. SC in front loop of next 22 st.
Ch 1, turn. SC in 22 st.
Ch 1, turn, SC in 22 st.
Ch 1, turn. SC2tog, SC in next 18, SC2tog in last 2 (20)
Ch 1, turn. SC2tog, SC in next 16, SC2tog in last 2 (18)
Ch 1, turn. SC2tog, SC in next 14, SC2tog in last 2 (16)
Ch 1, turn. SC2tog, SC in next 12, SC2tog in last 2 (14)
Finish off

Finally, I did a SC along the entire beanie and brim.

Lightning McQueen Beanie with Brim Lightning McQueen Beanie with Brim

Crochet lightning bolt pattern: http://beccadoodle.blogspot.com/2013/07/crochet-lightning-bolt-pattern.html

Lightning McQueen eyes: http://amray1976.blogspot.com/2011/12/crochet-lightning-mcqueen-child-hat.html

Tires:
Start with red yarn.
Round 1: Ch 2. 6 HDC in first ch. Join. Ch 1.
Round 2: 2 HDC in each st around. Join. Ch 1.
Switch to white yarn
Round 3: 2 SC in each st around. Join. Ch 1.
Switch to black yarn..
Round 4: HDC in each st around. Join. Finish off.
Ch 1.

Crochet Beanie with Brim Crochet Beanie with Brim

Crustless Quiche in the George Foreman Evolve Grill

3 Apr

I love that my mom always gets me kitchen items for gifts. Past gifts have included a food processor, a handheld blender, a toaster oven, all of which I love and use regularly. This Christmas, she got me the George Foreman Evolve Grill that I had been eyeing for a while. The George Foreman grill we had I liked, but it was showing its age. I think we had it almost 10 years. It was time for a new one.

I like this version. It has interchangeable plates to make a variety of things, and I like the removable plates for easier clean up. Mine came with the grill plates, the bake dish, and the slider plate. I have already made burgers a couple of times with the grill plates, but was ready to try out the bake dish.

This was super easy to make, and it was really nice on this hot day to not have to use my oven. This still puts off some heat, but not like using the oven. What is also nice is that it’s flexible as to what veggies you want to use. I used spinach, mushrooms, and green onions, but you could use broccoli, carrots, red onions, yellow onions, whatever combination you like. You could also add cooked bacon or ham to this as well.

I pulled out my electric griddle and made pancakes to go with this while it baked.

Crustless Quiche in the George Foreman Evolve Grill

Crustless Quiche in the George Foreman Evolve Grill

What you need:

1 Tablespoon olive oil
1/2 cup spinach, chopped
1/2 cup mushrooms, diced
1/2 bunch green onions, diced
5 eggs
1/2 cup milk
1/2 cup shredded cheddar cheese, plus some extra for the top
Salt and pepper

How to make it:

Place the grill plate on top and bake dish on bottom of the Evolve Grill. Set heat to 375, and set timer for 5 minutes to preheat. Make sure the grill is in the upright flat position and not tilted forward.

While grill is heating, whisk together the eggs, milk, shredded cheese, salt, and pepper.

Once grill is ready, heat the oil and add spinach, mushrooms, and green onions. Stir for 5 minutes to soften.

Pour in the egg mixture and gently stir to combine all ingredients. Sprinkle shredded cheddar over the egg mixture.

Close the cover and cook for 15 minutes. Let stand for 5 minutes before cutting and serving.

Crustless Quiche in the George Foreman Evolve Grill

Crochet Bow

10 Mar

Now that I made 2 more Kitty hats, I remember now how I did the bow! So, I wanted to share the pattern.

Kitty Hats with Bows

Crochet Bow pattern

This was done with worsted weight yarn, in this case Red Heart Super Saver in Dark Orchid, and a size H hook.

Ch 2.
Round 1: 8 sc in 2nd chain from hook. Sl st in 1st st. Ch 1.
Round 2: 2 sc in each stitch. (16) Sl st in 1 st. Ch 1.

First side of bow:
Round 1: sc in next 6 st. Ch 1. Turn
Round 2: 2 sc in first st, sc in next 4, 2 sc in last st (8). Ch 1. Turn
Round 3: sc across (8). Ch 1. Turn
Round 4: 2 sc in first st, sc in next 4, 2 sc in last st (10). Ch 1. Turn
Round 5: sc across (10). Tie off and weave in end.

Second side of bow:
Round 1: Sl st into 3rd st from first side. SC in next 6 st. Ch 1. Turn
Round 2: 2 sc in first st, sc in next 4, 2 sc in last st (8). Ch 1. Turn
Round 3: sc across (8). . Ch 1. Turn
Round 4: 2 sc in first st, sc in next 4, 2 sc in last st (10). Ch 1. Turn
Round 5: sc across (10). Tie off and weave in end.

Edging: sc around entire bow to finish off. Tie off and leave a long enough strand to attach to project.

If you want to make the whole kitty hat, I have how I do a the main beanie in this post, along with links to the patterns for the ears, eyes, and nose.

Ground Beef Gravy

3 Mar

I know, this doesn’t look very appetizing, but honestly, we really like it! It’s very simple to put together, and takes about 30 minutes to prep and cook to have a meal. Can’t beat that! I’ve served it over rice or mashed potatoes, and either way it’s great. Tonight, we added asparagus, thanks to a recent sale.

Ground Beef Gravy

Hamburger Gravy

What you need:

1 lb ground beef
1 small onion, diced
1 8 oz package mushrooms, diced
1/4 cup flour
1 tablespoon beef flavored instant bouillon
1 1/2 teaspoons Worcestershire sauce
2 1/2 cups milk

How to make it:

Brown ground beef in a large skillet over medium-high heat. Add onions and mushrooms, and cook until onions are translucent. Stir in the flour, bouillon, and Worcestershire sauce. Gradually add milk, stirring constantly, to prevent lumps. Cook, while continuing to stir, until it boils and thickens, about 5 minutes.

Chicken & Spinach Tortellini Soup

2 Mar

We have had a lot of  Chicken & Wild Rice Soup lately, which we love. I recently got a coupon from Safeway for a free bag of refrigerated tortellini, so I figured that I could do a similar soup with the tortellini instead of rice. It turned out really well, and while I don’t get tortellini often, it’s a recipe to keep on hand in case I do.

Chicken & Spinach Tortellini Soup

Chicken & Spinach Tortellini Soup

What you need:

2 tablespoons butter
2 medium carrots, diced
2 stalks celery, diced
1 small onion, diced
2 cloves garlic, minced
1 teaspoon seasoning blend, like Tastefully Simple Rustic Herb blend or Mrs. Dash
1 8 oz package mushrooms, sliced
6 cups chicken broth
1 12 oz package refrigerated tortellini
2 cups cooked chicken
2 cups fresh spinach, chopped

How to make it:

Melt butter in a large pot over medium heat. Add carrots, celery, onion, and garlic. Cook until tender.

Add mushrooms and seasoning blend. Cook a few minutes.

Pour in chicken broth and bring to a boil.

Add chicken and tortellini. Cook for about 10 minutes, or until pasta is cooked.

Add spinach, and cook until it is wilted.

Garnish with fresh grated Parmesan cheese, if desired.

PVC Stand for 4’9″ Doll for Child Passenger Safety

20 Feb

I actually made this a few months ago, but am just now getting around to sharing it!

After completing a few PVC pipe projects, I am always looking for other creative ways to use it. We have a 4’9″ demonstration doll for our Child Passenger Safety Technician classes, and I like to take it to check events and informational booths we set up to have a visual idea of what 4’9″ really is. This poor guy has been bungie-strapped to many poles, posts, easy-up sides, and usually slumps down pretty early on in our events.

So, I came up with the idea of making a stand for the doll using PVC pipe. At first, I just had a straight stand, but then decided to add the bar off to the side to make it like the height requirement bars for rides at amusement parks. The bottom of the bar is 4’9″, so kids can walk up to it and see if they are as tall as the bar.

Of course, being 8 years old or 4’9″ isn’t the magic age or height to stop using a booster seat, so I also included the 5 Step Test from Safety Belt Safe USA.

So, here is what the sign says:

Your child must be at least
THIS TALL
to use just the seat belt.
Or, they need to pass the 5-Step Test.
The 5-Step Test
1. 
Does the child sit all the way back against the auto seat?
2. Do the child’s knees bend comfortably at the edge of the auto seat?
3. Does the belt cross the shoulder between the neck and arm?
4. Is the lap belt as low as possible, touching the thighs?
5. Can the child stay seated like this for the whole trip?
If not, use a booster seat to give them a boost!

He still slumps down a little bit, but it holds him up better than a bungie-strap!

All PVC is 3/4″ diameter. Need 14.5 feet of PVC pipe, 3 caps, 5 tees, and 5 elbows to complete.
Base: 2 10″ pieces, 4 3-1/2″ pieces, 2 tee fittings, 4 elbows
Then, 2 43″ pieces into 2 tee fittings
Arm props: 2 6″ pieces with caps on the end
Then, 2 11″ pieces, one goes into elbow, one goes into tee fitting
10″ piece across top, 10″ piece out the side with a cap on the end

Stand for 4'9" Doll

All the dolls at a seat check event